

Image Apps - Free Download & Official Reviews

Install Facebook with Slightest Effort
 4.5
4.5
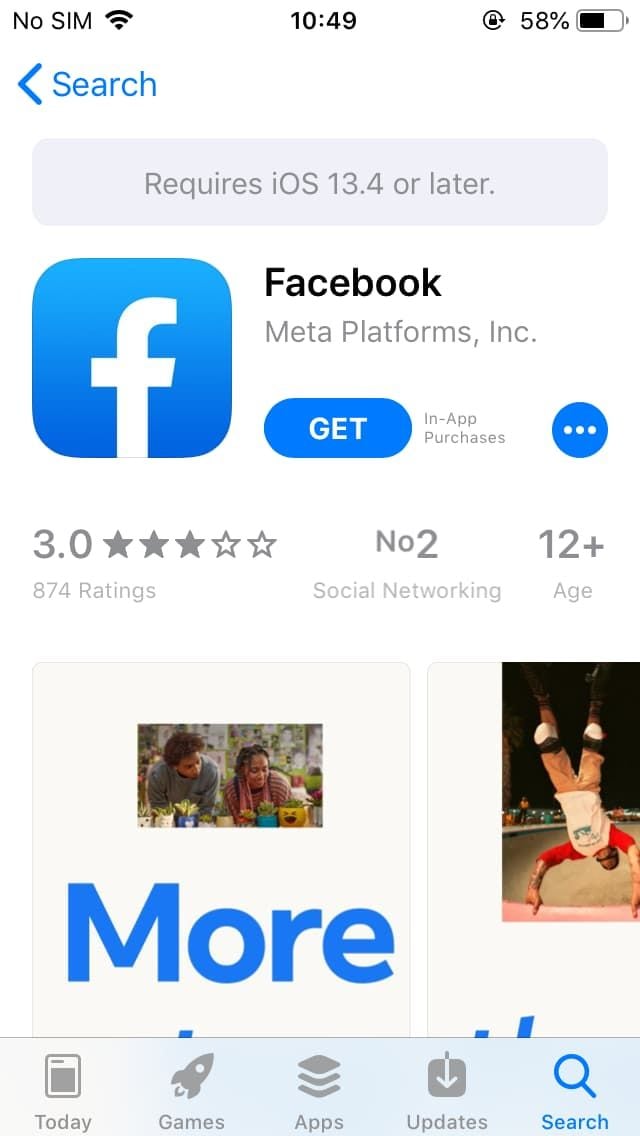
How to Get Facebook on Various DevicesMobile FacebookFor Android:1. Open the Google Play Store.2. Search for Facebook in the search bar.3. Tap Install to download the app. Or directly from here https://play.google.com/store/apps/details?id=com.facebook.katana&hl=en_USaccess to the install page.4. Once installed, open the app and log in or create an account.For iOS:1. Open the App Store.2. Tap on Search and enter Facebook.3. Tap Get to download the app. More directly, visit your desired download page from here https://apps.apple.com/us/app/facebook/id284882215.4. After installation, open it to log in or sign up.PC FacebookFor Windows:1. Open the Microsoft Store.2. Search for Facebook in the store or go to the corresponding page here https://apps.microsoft.com/detail/9wzdncrfj2wl?hl=en-US&gl=US.3. Click Get to download the application.4. Once downloaded, launch it from your Start menu.For Mac:Unfortunately, there is no dedicated Facebook app for macOS; users can access Facebook via a web browser.

Download Facebook Lite at No-Cost
4.5
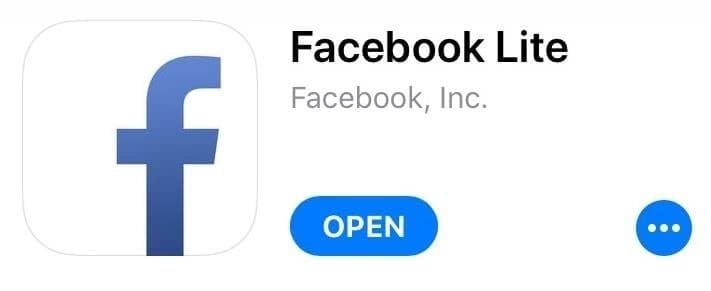
How to Install Facebook LiteMobile FacebookFor Android:1. Open the Google Play Store.2. Search for Facebook Lite.3. Tap Install to download it. Alternatively, visit and get from here https://play.google.com/store/apps/details?id=com.facebook.lite&hl=en_US.4. Launch the app and log in or create an account.For iOS:Facebook Lite is currently only available to Android users, not iOS devices.PC FacebookThere is no official desktop version of Facebook Lite; users access the mobile site by using a web browser.

Register Your Own Facebook Account
4.5
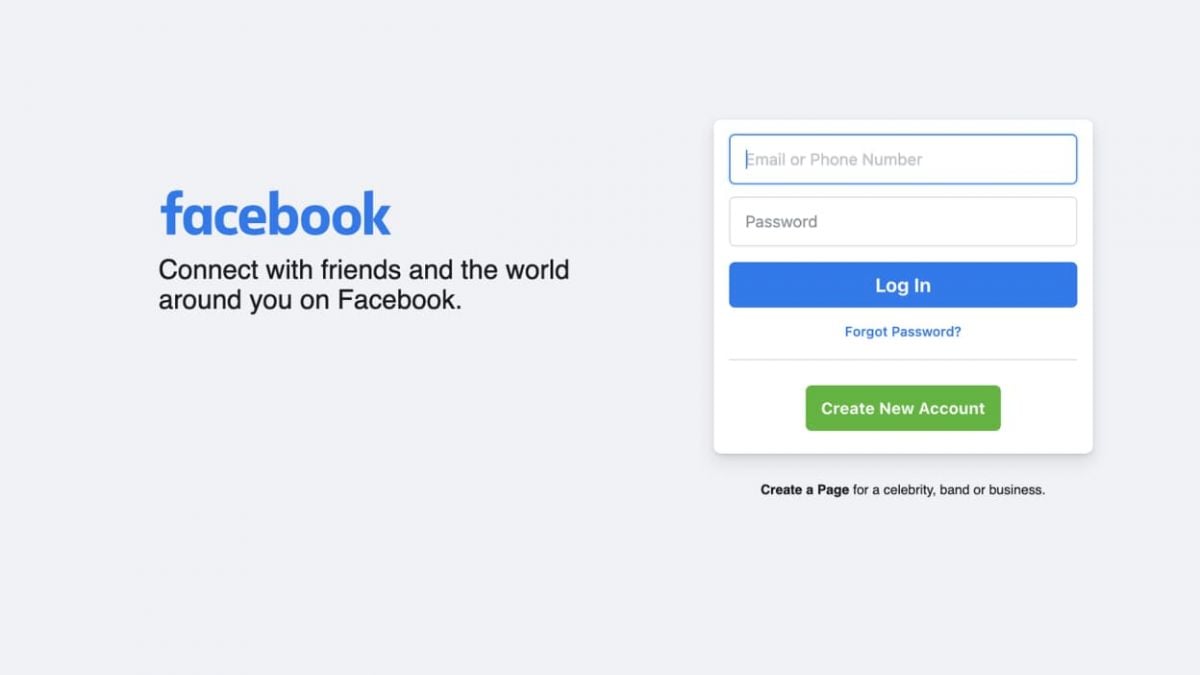
Steps to Create an Account1. Visit Facebook website https://www.facebook.comor download the app from your device’s store like mentioned in the previous sector.2. Click on Create New Account.3. Fill out the sign-up form with your name, email/phone number, password, birthday, and gender.4. Click on Sign Up to proceed.5. Verify your account through the email or SMS sent by Facebook.Setting Up Your ProfileAfter verification:1. Add a profile picture and cover photo to personalize your account.2. Fill out your bio and other details to help friends find you.Creating a Facebook account is an easy way to join a global network and stay connected. By following these simple steps, users can begin their journey on Facebook.

Erase My Traces on Facebook
4.5
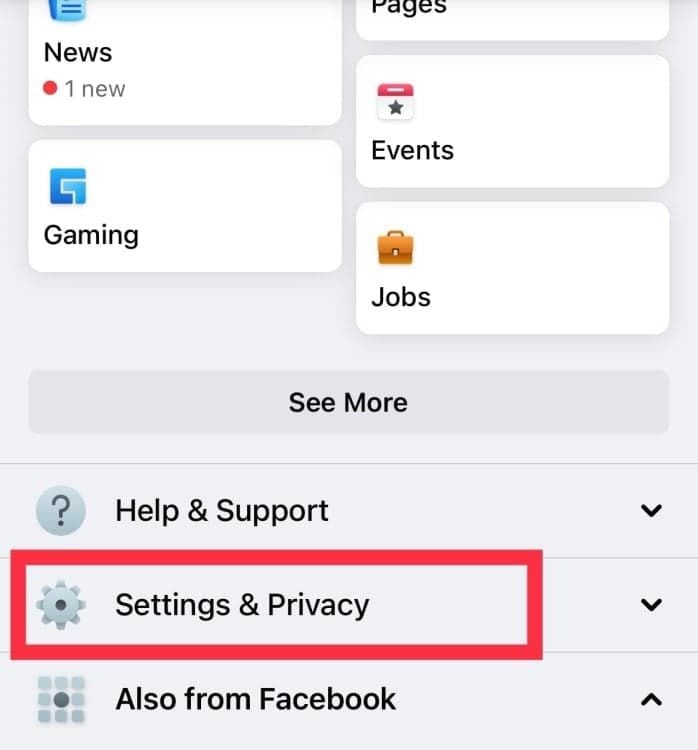
How to Delete Your Account1. Sign into your Facebook account and click the down arrow in the top right corner.2. Select Settings & Privacy, then click on Settings.3. Navigate to Your Facebook Information, then click on Delete Your Account and Information.4. Choose Permanently Delete Account, then follow prompts to confirm your decision.Additional Steps for Data Removal1. Before deletion, consider downloading your data via the Download Your Information tool if you want to keep any memories or posts.2. Note that once you delete your account, you have 30 days to change your mind before all information is permanently removed.

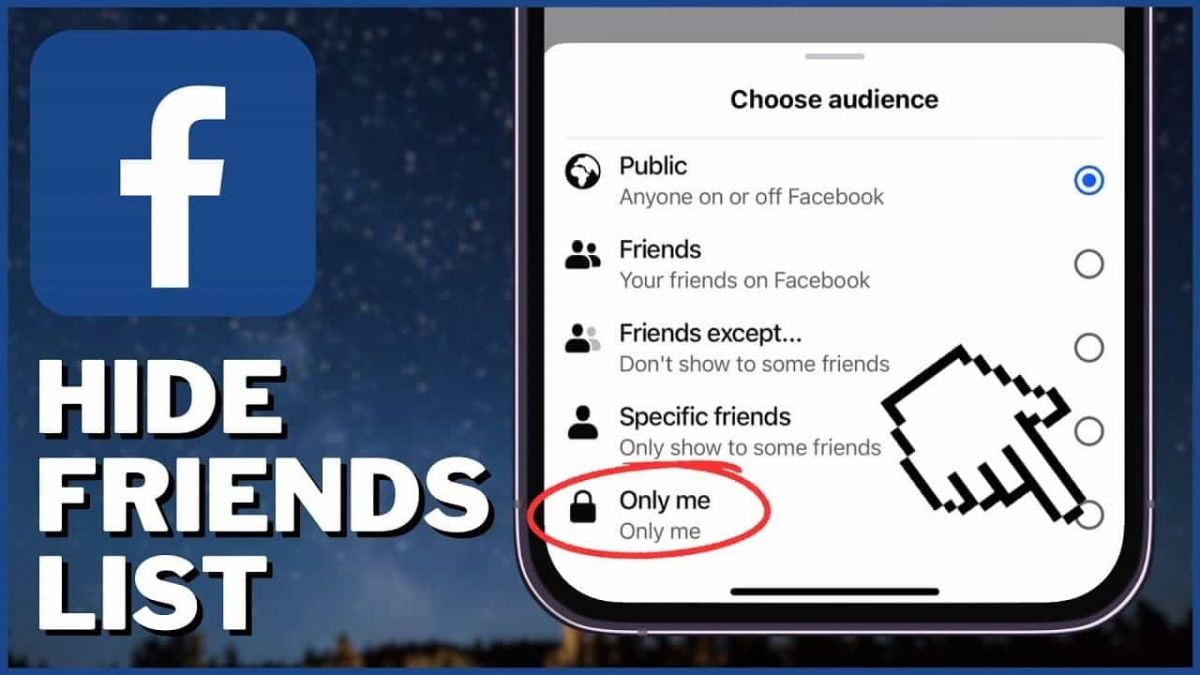
Hide Connections on Facebook
4.5
How to Hide Your Friends List1. Open Facebook in a web browser or mobile app.2. Click on your profile picture at the top right corner.3. Go to Settings & Privacy, then select Settings.4. In the left menu, click on Privacy settings.5. Find the section labeled “How people can find and contact you” and click on Edit next to “Who can see your friends list?”6. Choose from options such as Public, Friends, or set it to Only Me for complete privacy.

Go Viral by Canva's Social Media Playbook
4.6
Canva also helps with engagement beyond static posts, through animations and built in video editing. Since moving content often beats still images in modern feed algorithms, Canva lets you apply more dynamic motion graphics to text and visuals. That gives you scroll stopping micro animations that can grab attention in those first few seconds. You can cut and splice video clips, layer trending audio, and add smooth transition effects right inside the same app.And if you want to keep things organized, Canva Pro includes a solid Content Planner. The inbuilt scheduling tool lets you link your external social media accounts straight right into the site's infrastructure. Create graphics, write captions and set up scheduled autopublishing for each platform, from Facebook to LinkedIn, Instagram to X, all within Canva. You can use compelling visual aesthetics, automated and systematic distribution processes to keep a high volume and high quality of content flowing. This cohesive strategy helps you avoid duplicate content and keep your viewers with a constant stream of informative, well-formatted visual content.

Update PayByPhone
4.5
For Android Users:1. Open the Google Play Store.2. Tap your profile icon then go to “Manage apps & device.”3. Scroll down to see “PayByPhone Parking” then tap “Update if available.For iOS Users:1. Open the App Store and tap your profile icon.2. Scroll to the “Available Updates” section.3. Locate PayByPhone and tap “Update if listedWeb Users on PC/Mac:Automatic updates happen in the web portal. Refresh your browser every now and then to ensure recent features are loaded.
Streamline Your Discord Ecosystem
4.7
For busy channels where chats can explode, slowmode is your friend. Toss on a 5–10 second delay between messages so you aren’t drowning in spam. Announcement channels? Disable regular posting and only let staff or bots speak so info doesn’t get lost.Integrations and Webhooks enable real-world productivity. Integrate Discord with other apps such as GitHub, Trello, Twitch or even YouTube, which allows activity updates to be posted automatically into predetermined channels. You'll receive notifications on your Discord when a developer sends you a pull request, streams are automatically notifed when it goes live, and you'll know what's going on with your project tasks stream.Not enough people use scheduled events, and that's a shame. You can plan voice hangouts, stage talks, or outside stuff. People can RSVP ahead of time, which pumps up excitement and guarantees a bigger crowd.

Secure Transfers on Zelle
4.5
Steps to Ensure Safe Transactions1. Double-check the email address or U.S. mobile number of your recipient before you send money. Verify the recipient’s identity, either by contacting them verbally, or through a communication channel that you know to be trusted. Then send.2. Only send money for family and friends using the Service. Do not send money to unknown recipients to purchase goods or services from individuals you do not know.3. Beware of phishing scams or suspicious requests for money. Never share your Zelle PIN or verification codes with anyone. Be wary of emails or texts claiming to be from Zelle asking for personal information.4. Set up transaction notifications in your banking app to receive alerts for every Zelle transaction. Review these notifications promptly to identify any unauthorized activity.5. Check your bank account statements frequently to monitor for any suspicious transactions. Report any unauthorized activity to your bank immediately.6. Use strong, unique passwords for your online banking and Zelle accounts. Enable two-factor authentication (if available) for added security.